For 15 years, I have not lived in the same place as my mom. For the last five years, she has lived with my sister and her family. It has always been a dream of mine that she would eventually spend half of her time with us. About eight months ago my mom felt like it was time to start doing that! So we decided to do a tight budget renovation of our unused playroom area to a basement kitchenette for her. She didn’t need a fully functional kitchen because she eats her dinners with us (and cleans up afterward! I can’t even tell you how much I appreciate this), but we wanted her to have the ability to make meals in her room if she wanted to.
The guest room is in our basement and has very little natural light. In the past we had dreamed about adding windows to our playroom area, and then putting in a wall to close it in and make a little suite for her. When we realized that she was in fact going to come and stay with us part time, we started turning that dream into reality. We have been working on the suite for six months. My mom has been living in it for almost two months as we finish it. This week I finally finished the basement kitchenette.
The challenge is that we were working with an extremely tight budget, and kitchens are expensive. So we had to think outside the box for this basement kitchenette, get some things second hand, and repurpose old items. The first before picture you see is where we started from. Originally, the area that is now my mom’s suite was open to the rest of the upper basement level (we have a four level side split), and we told ourselves we used it as a play area for the kids. But it was really just a dumping ground for stuff we didn’t want to deal with. The kitchen nook used to be where I stored all the kids’ toys (junk they didn’t really play with).

The Search for Budget-Friendly Cabinets
This niche is only 72 inches wide, so a mini fridge was a must have. I was also on the hunt for 54 inches worth of cabinets. I knew if we were going to make this basement kitchenette economical, we had to get the cabinets second hand or on a deep discount. There is a saying in the design world: quality, fast, budget, you can only pick two! For over six months, I checked Facebook Marketplace and Kijiji for cabinets, but could never find the size, look, quality, or price I needed.
Then at Christmas time, a custom kitchen store in Edmonton put out a deal on their returned cabinets. Normally even the heavily marked down cabinets were still outside our budget. This time though, they made every bottom cabinet $79.00 and every upper cabinet $49.00! I went to the store and spent two hours trying to see if anything would work.
At first, I passed on these cabinets because of the space where you now see a skirt. That space was meant for an oven. Since we weren’t putting in an oven I didn’t think it would work for our purposes. But after going over the entire store I measured these cabinets and realized they were the perfect size. I also realized I could make a skirt for the opening and get the closed storage we needed for a price I hadn’t seen anywhere else. Not only that, but the quality of these cabinets is amazing.
The marked-down price was $1400.00, and the original price was over $5000.00. I got all three cabinets for $250.00! At first, I thought we could paint them either white or navy blue, but when I showed my mom she really liked the stain (she might also have had painting fatigue by the time we got to this point), so we left them as they were.

My mom has a traditional style and as much as I wanted her to go with gold hardware, she just doesn’t love it and I wanted her to LOVE her space. So, we found some traditional handles in silver that go well with the rest of the room. As for the missing kick plate, I could have had the custom kitchen place make me one that matched perfectly. But this would have cost more than the cabinets! So I was determined to DIY something that would work just as well. I went to Home Depot with a cabinet door and looked at all my options. I found closet shelving that was the right colour and tone, and had it cut down to the correct size. This cost me $35.00.

My original vision for this basement kitchenette was blue or white cabinets with a butcher block countertop, but now that we had stained wood cabinets I felt like butcher block wasn’t right anymore. So, I looked at my inexpensive options. Home Depot has a number of different laminate countertops available off the shelf. Some of them are really good. They have a great concrete laminate that I love, but that felt way too industrial for my mom’s style. So we went with a marble look instead. They had two off the shelf options: one with a rounded edge, and another with a square edge, for $10.00 more. The squared off edge really elevated the style of it, and we decided to splurge on this option. The countertop cost $100.00.
I had been storing (hoarding?) some navy fabric ever since Pottery Barn closed in Edmonton and sold off their large fabric samples for $5.00 each. I grabbed all the navy ones I loved, and I’m so glad I did because this one was perfect for what we needed! Mom sewed the skirt and we attached it with a tension rod.
Adding Colour to the Basement Kitchenette


I really wanted a beautiful fridge for this area because it is a studio apartment, and the kitchen can be seen from every part of the room. A brand new fridge was outside our basement kitchenette budget, but I was determined to get an aesthetically pleasing fridge somehow. There are amazing examples of painted fridges on the internet and thought I’d give it a try.
So, I cleaned, lightly sanded, primed, painted, and added hardware. I LOVE the way it turned out. Is it my perfect dream SMEG fridge that would have cost me $2000.00? No. Is it a lot better than where we started? YES! This is something that I am really passionate about with Reclaiming Home. We often think that if we don’t have a tonne of money and can’t get exactly what we want, it isn’t worth trying to make our space (or fridge) better. I firmly believe that isn’t true, and for $150.00 I got a look that I love for the amount of money I had to spend.
Additional Storage


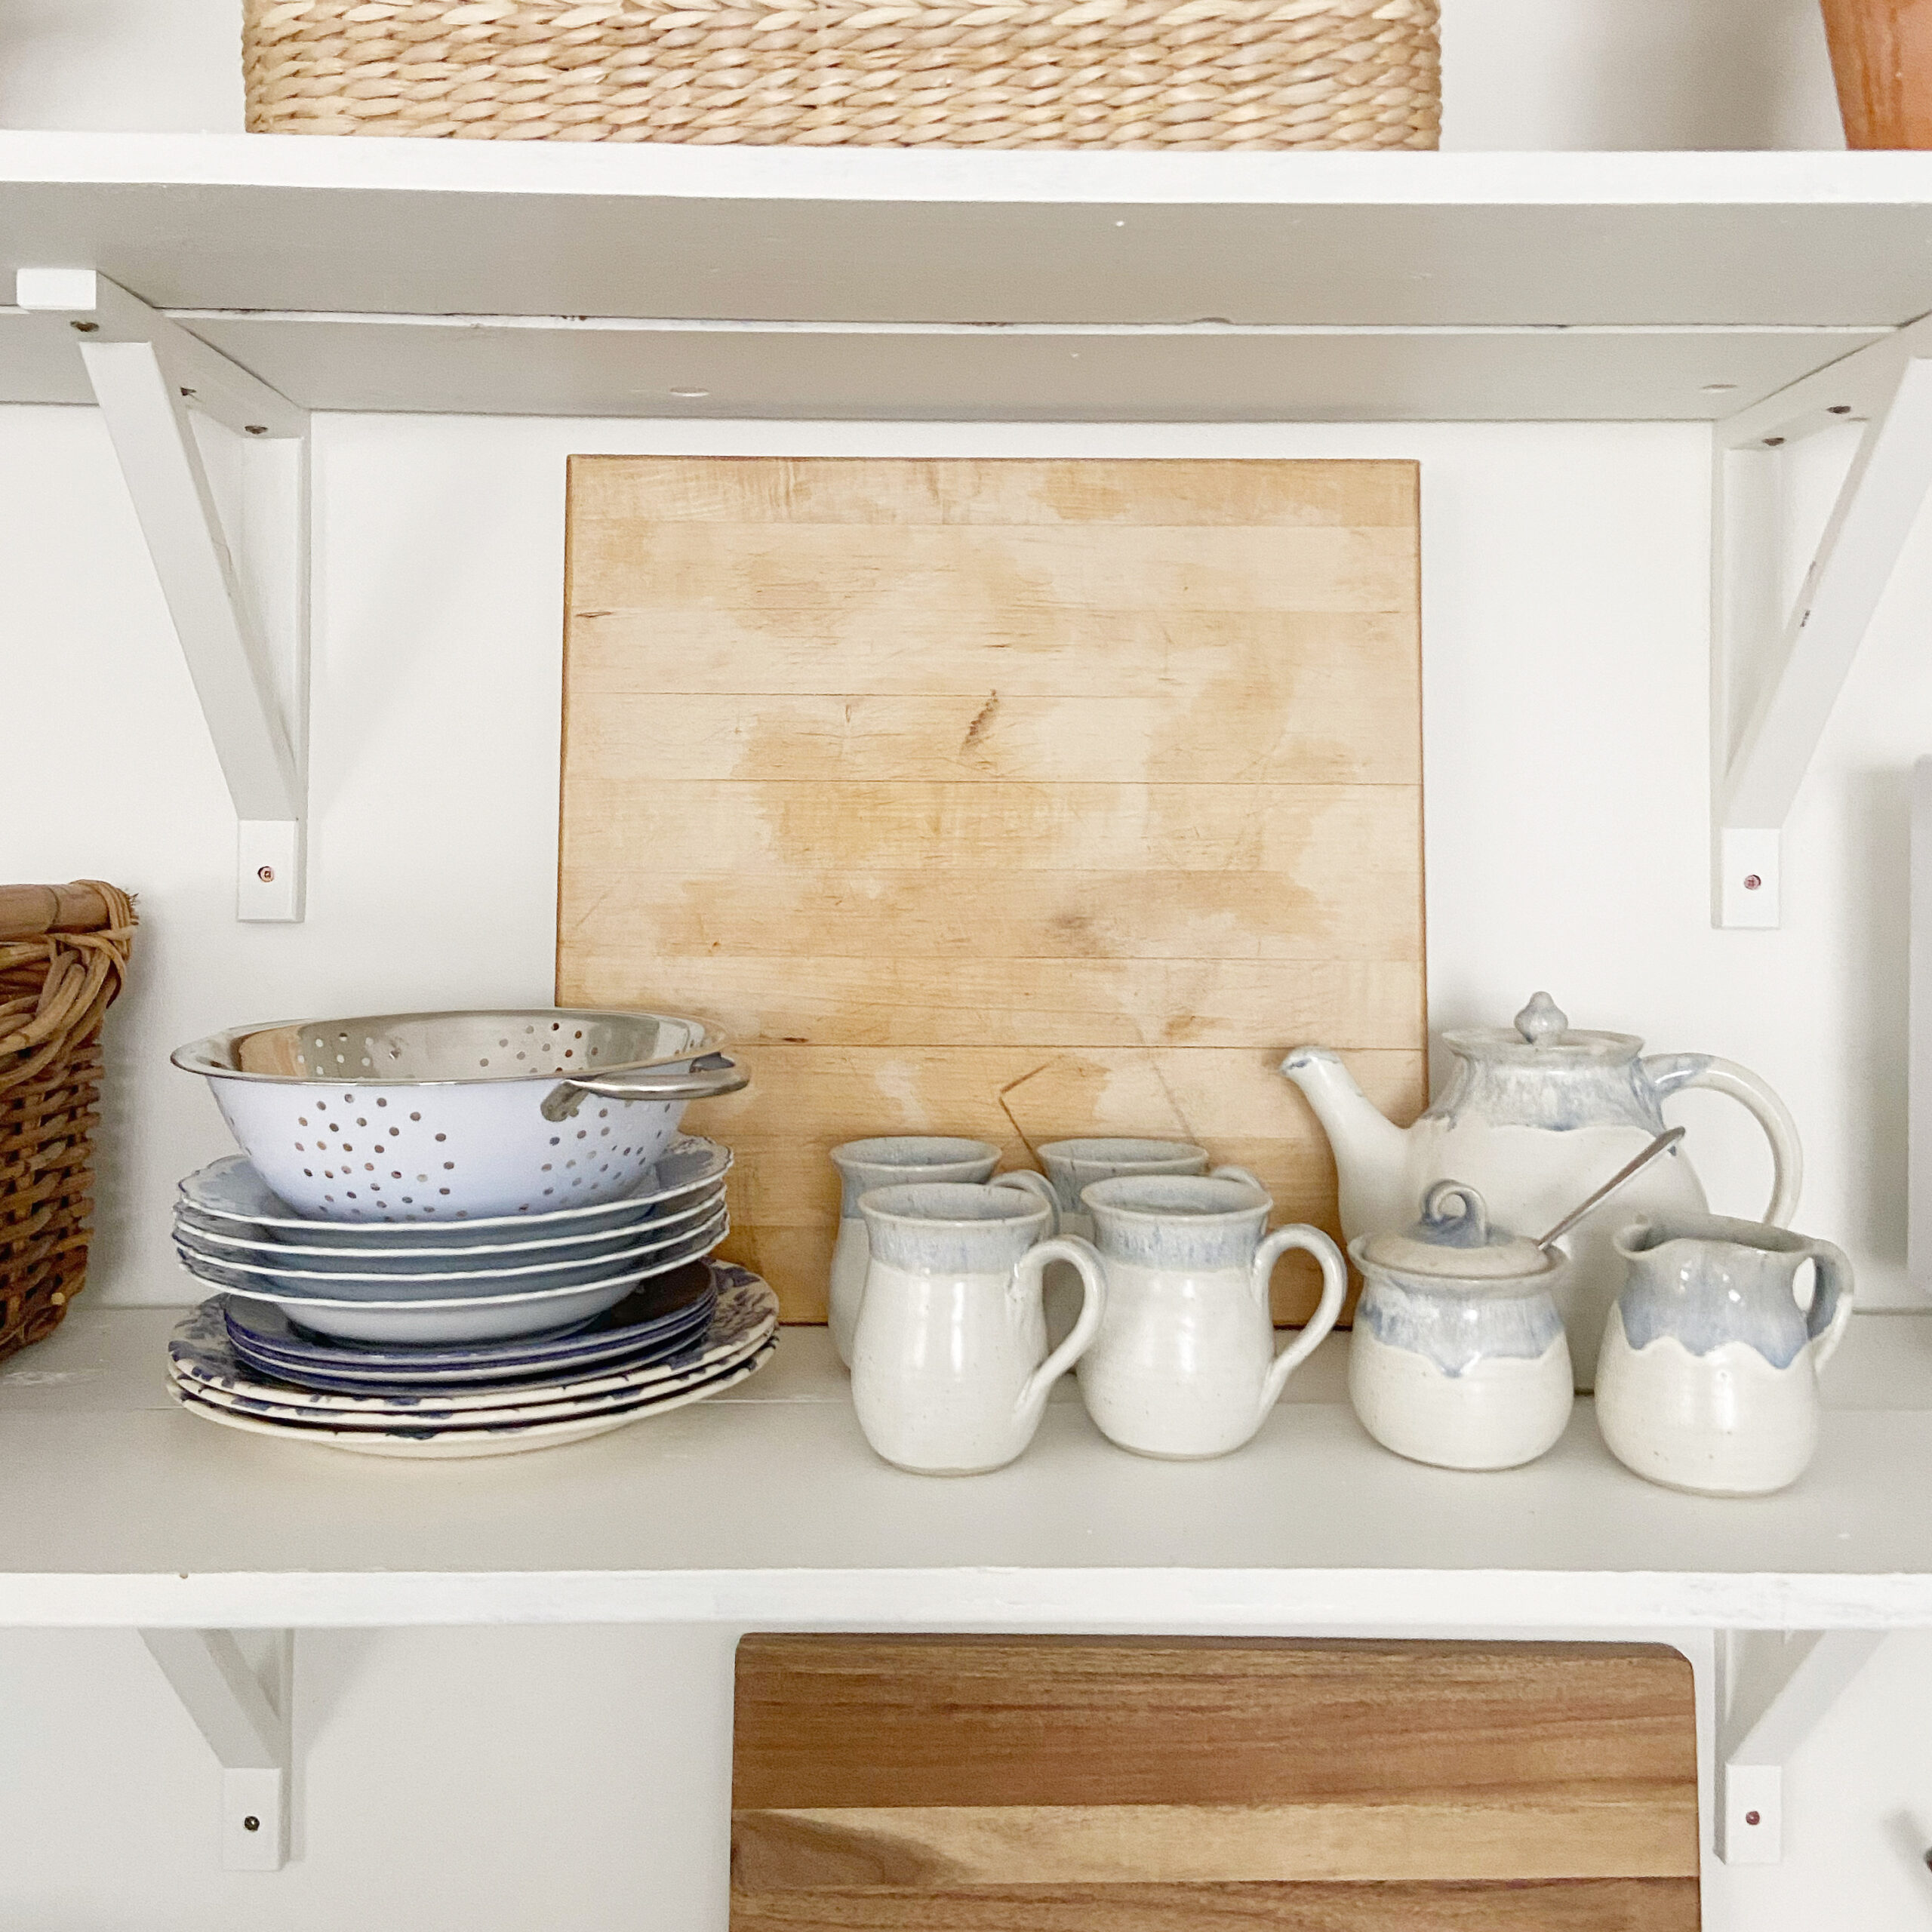
Do you recognize the open shelving we used for the kitchen? It’s the same shelving that we had in the playroom, but we painted it all white! These shelves originally cost me zero dollars. I found both the wood and the brackets on Kijiji for free. When I was first planning the kitchen I knew we wanted my mom’s microwave off the counter, because she would not have a lot of counter space to work with. I originally thought I would try to get a microwave upper cabinet, but after finding the lower cabinets I realized that the original shelves from this area were the perfect depth for the microwave. Plus, they were free! So my mom painted them, and up they went. They actually provide a tonne of storage, and keep the microwave off the counter. It is so nice to have pretty, functional shelves.

Basement Kitchenette Budget Breakdown
- Cabinets: $250.00
- Kick plate: $35.00
- Countertop: $100.00
- Hardware: $48.00
- Fridge: $150.00
- Tension rod: $5.00
- Skirt: $5.00
- Shelving: Free
Total: $593.00
I love the way this basement kitchenette turned out. I am also so happy that my mom has a space where she can get breakfast and coffee without having to endure the chaos that is my family first thing in the morning. She now has a place to hide her ice cream without my kiddos asking her to share!
PIN IT!


